You just triggered your Polaroid, the print slides out of the device, and your first instinct is to shake it. This gesture, popularized by decades of pop culture, is actually the best way to ruin your photo. Modern instant films work through chemical diffusion: the image forms on its own, without external help. Understanding this process changes everything about how to handle your prints.
What happens in the emulsion layer after ejection
A Polaroid or Instax print does not need to “dry” in the traditional sense. Inside the white frame, chemical reactants migrate between several stacked layers to form the image. This diffusion process starts as soon as the rollers of the device crush the development pouch.
On an Instax film, a recognizable image appears within a few minutes. On a Polaroid 600 or i-Type film, expect about fifteen minutes before you can clearly distinguish the subject. The contrast and colors continue to evolve for several tens of minutes, sometimes a few hours.
During this entire phase, the emulsion layer remains vulnerable to pressure and bending. Folding the print, wedging it in a pocket, or pressing a finger on the surface can leave permanent marks. The chemistry is not done working: any mechanical stress disrupts the migration of pigments and creates washed-out areas or visible ripples.
If you’re looking for a method to dry a Polaroid photo suitable for current films, the basic principle can be summed up in one word: patience.
Polaroid and Instax: why shaking damages the print
Églantine Aubry, a photographer specializing in instant photography at the Impossible Project shop in Paris, explains it clearly: shaking a print is completely useless. Worse, it damages it. The movement twists the photo, creates tension in the chemistry, and leads to the formation of waves at the bottom of the frame, with poor distribution of reactants across the film.
This gesture is a legacy from the 1950s. The first Polaroid cameras produced prints in black envelopes that had to be opened manually. The photograph came out sticky and wet: it had to be shaken to speed up surface drying. Modern films are sealed and no longer have exposed wet surfaces. Development occurs in a closed circuit, under the transparent protective layer.
In other words, shaking a contemporary print is like applying repeated mechanical stress on chemistry that is actively working, with no benefit in return.
Temperature and light: two factors that change the result
The development speed of an instant film heavily depends on the ambient temperature. In the cold, the chemical reaction slows down significantly. In the heat, it speeds up. Placing a print in direct sunlight right after ejection will not “help it dry”: direct sunlight exposure during development degrades colors.
Have you ever noticed prints with greenish hues or crushed contrasts? Intense UV light during the first few minutes is often the cause. The reflex to adopt:
- Turn the print face image down, or slide it into a dark pocket (some Polaroid cameras include an opaque shield for this purpose) during the first few minutes
- Leave it in a place at room temperature, neither too hot nor too cold, on a flat and smooth surface
- Never place the image side on absorbent paper or rough fabric, as fibers may adhere to the still-reactive layer and leave irreversible marks
Concrete method for a flawless instant print
No special equipment is needed. The best approach relies on a few simple gestures, provided they are consistently followed.
As soon as the print is ejected
Hold the photo by the white edges, without touching the surface of the image. If you are outdoors in sunny weather, turn it over or place it out of direct light. Lay it flat on a clean, hard, non-textile surface.
During development
Do not move the print unnecessarily. Avoid flipping it every thirty seconds to check the progress of the image. Every handling increases the risk of unintentional pressure on the emulsion. If curiosity strikes, a quick glance without lifting the photo is enough.
After the image is fully visible
Even when the image seems “finished,” colors and contrast continue to stabilize. Wait at least an hour before storing the print in an album or stacking it with other photos. For long-term storage:
- Keep prints away from direct light and humidity
- Avoid PVC plastic sleeves, which can react with the film surface over time
- Prefer polypropylene sleeves or acid-free page albums
Common mistakes that ruin a Polaroid print
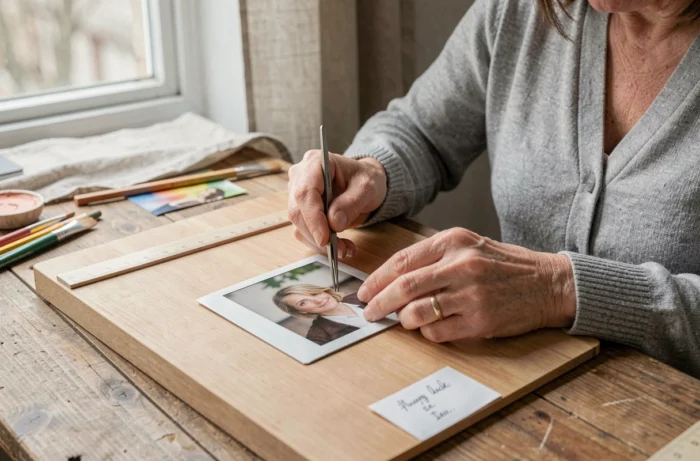
Some habits may seem harmless but cause visible damage. Writing with a pen on the back of the print during development applies localized pressure that marks the image on the other side. Wait for the development to be complete before annotating a print.
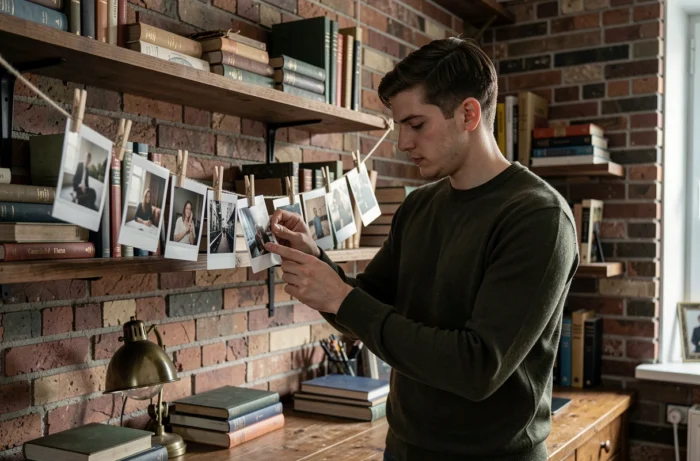
Sticking a still-fresh print on a wall with tape is another common mistake. The adhesive can migrate to the edges and come into contact with the active chemistry. The result: yellow halos along the frame, impossible to erase.
Stacking several freshly ejected prints on top of each other also creates problems. The still-reactive surfaces can stick together or transfer chemical traces from one print to another.
The common thread of all these mistakes is the same: an intervention too early in a chemical process that needs time. An instant film is not a digital print that comes out finished from the printer. Complete development takes several tens of minutes, not just a few seconds. Respecting this timing remains the only real trick to obtaining sharp prints, with true colors and without surface defects.