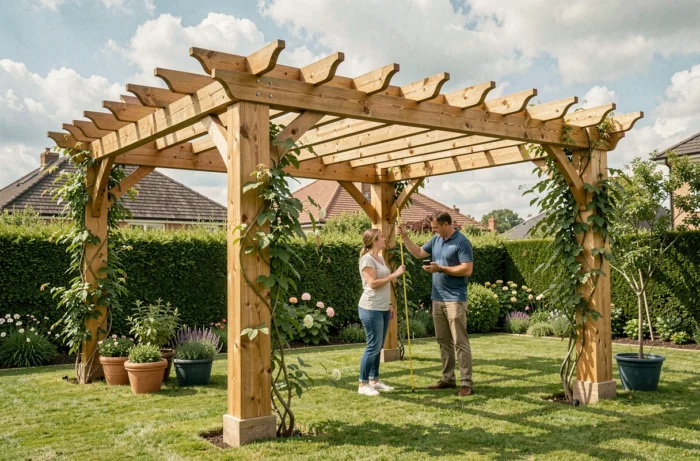
When installing a 20 m² wooden pergola on an existing terrace, the first issue is not the choice of model. It is the compatibility between the delivered kit and the reality of the site: soil type, exposure to prevailing winds, quality of drainage at the base of the posts. A 5×4 pergola purchased from a DIY superstore can last a decade or warp in three winters, depending on the decisions made before and after assembly.
Technical documentation of the pergola kit: what the box doesn’t always say
Before even discussing wood species or treatment, one should check a point that nobody looks at in the store: the technical notice provided with the kit. A complete document mentions the wood treatment class, the moisture content at delivery, the type of anchoring required, and the permissible loads (snow, wind).
When this information is missing, recourse in case of problems becomes complicated. The legal two-year warranty for conformity applies to Brico Dépôt pergolas just like any new product sold in France. It covers structural failures (serious deformation, premature rot, abnormal breakage of parts) but not aesthetic wear.
The catch: to invoke this warranty, one must prove that the installation followed the manufacturer’s instructions and that minimal maintenance has been performed. A kit with an unclear notice makes this recourse much more difficult. It is advisable to photograph each step of the assembly and keep the original notice with the invoice.
Choosing a 5×4 wooden pergola from Brico Dépôt therefore requires checking the quality of the documentation before finalizing the purchase, not just the price displayed on the shelf.
Usage class and autoclave treatment: choosing the right wood for an outdoor pergola
DIY store pergola kits generally use autoclave-treated pine. The treatment injects a fungicide and insecticide under pressure into the fibers. However, not all treatments are equal, and it is the usage class that makes the difference.
- The class 3 is suitable for outdoor structures exposed to the elements without permanent contact with the ground. This is the minimum for a pergola.
- Class 4 provides additional resistance when the posts touch a damp slab or poorly drained ground. If your terrace retains water in winter, this is the class to aim for.
- Classes 1 and 2 are reserved for indoor or sheltered uses. A class 2 pergola, even treated on the surface, will gray and degrade in just a few seasons.
One should check the label or the online product sheet to find this mention. If the usage class does not appear anywhere, it is a warning signal. Glued laminated wood in class 4 offers a significantly longer lifespan than basic solid pine, but feedback on this point varies depending on local climatic conditions.
Ground anchoring of a 5×4 pergola: concrete slab or loose ground
Assembling a kit pergola seems simple on paper. In practice, it is the anchoring that determines whether the structure withstands the first autumn storms or starts to wobble in its fixings.
Installation on concrete slab
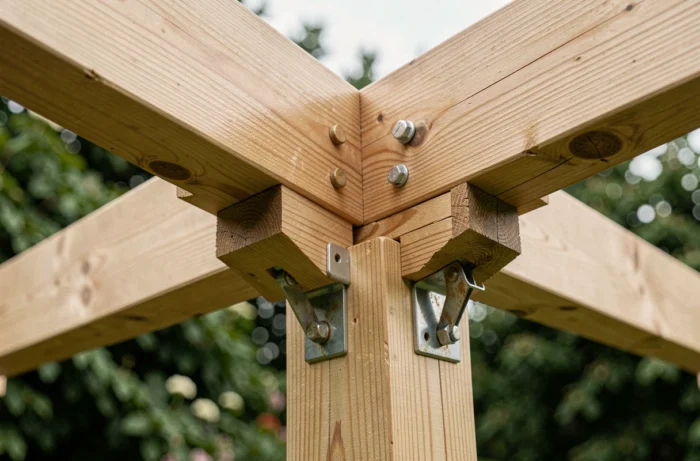
On an existing slab, metal plates are used, fixed by chemical anchoring bolts. The diameter and depth of the bolts condition the wind resistance. Kits sometimes provide screws that are too short for a standard slab. One should check that the bolts go down at least eight centimeters into the concrete.
Bracing (the diagonal reinforcements between posts and beams) is the second critical point. Some kits skimp on these parts. Without bracing, a 20 m² pergola will sway as soon as the wind exceeds a certain strength. Metal brackets can be added if the kit does not provide them.
Installation on natural ground or pads
On loose soil, the posts must rest on buried concrete supports or elevated adjustable pads. The objective is twofold: to prevent direct wood-to-soil contact (even in class 4, this contact accelerates degradation) and to ensure lateral stability.
Metal H supports sealed in a buried concrete block remain the most reliable solution for unstabilized ground. The cost is modest, but the drying time of the concrete adds a few days to the project.
Wood maintenance after installation: the actions that separate five years from fifteen years
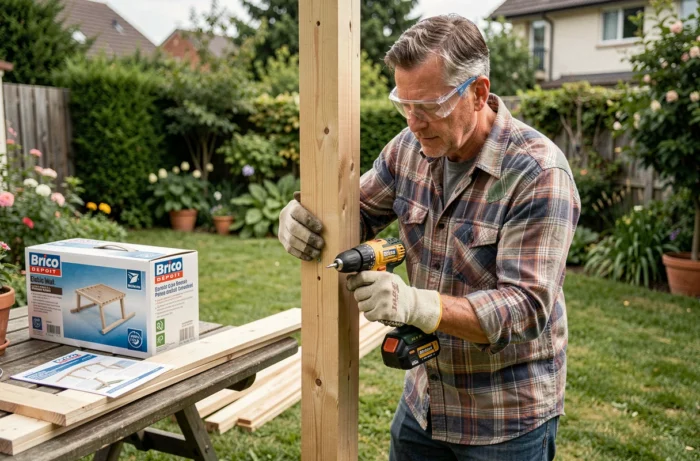
Once the pergola is assembled, the autoclave treatment provides initial protection. This protection is not eternal. The wood naturally grays under UV effects, and the treatment loses effectiveness over the seasons.
Applying a saturator suitable for outdoor woods within the first six months after installation significantly extends lifespan. The saturator penetrates the fibers and limits water absorption, unlike a stain that forms a surface film and eventually peels off.
The maintenance rhythm depends on exposure. A pergola facing south and not sheltered by trees will require an application approximately every two years. A semi-shaded structure may last longer between two coats.
- Clean the structure with a low-pressure jet once a year, at the end of winter, to remove moss and green deposits.
- Check the tightness of the bolts at each cleaning. The wood works with humidity variations, and the joints loosen.
- Inspect the base of the posts as a priority: this is the area where moisture stagnates and where rot begins.
Declaration at the town hall for a 20 m² pergola: the process to anticipate
A pergola measuring 5 meters by 4 exceeds the threshold of 5 m² that exempts from any formalities. A prior declaration of works is mandatory for surfaces between 5 and 20 m². Beyond 20 m², a building permit may be required depending on the local urban planning regulations.
The Cerfa form must be submitted to the town hall before starting the work. The processing time is generally one month. Starting the assembly without this declaration exposes you to forced compliance, or even a request for dismantling.
Another point to watch: a covered pergola (with a fixed polycarbonate roof or permanent fabric) may be reclassified as taxable property by the land tax service. Pergolas with adjustable slats or retractable roofs pose the question differently, and practices vary from one municipality to another. It is better to inquire with the local urban planning department before choosing the type of covering.
Ultimately, the choice of a wooden kit pergola relies on three concrete checks: the wood usage class (minimum 3, ideally 4), the quality of the ground anchoring suitable for your terrain, and the rigor of maintenance in the early years. The purchase price represents only part of the actual budget. It is the hours spent properly preparing the ground and maintaining the wood that determine whether the structure will last a decade or two.